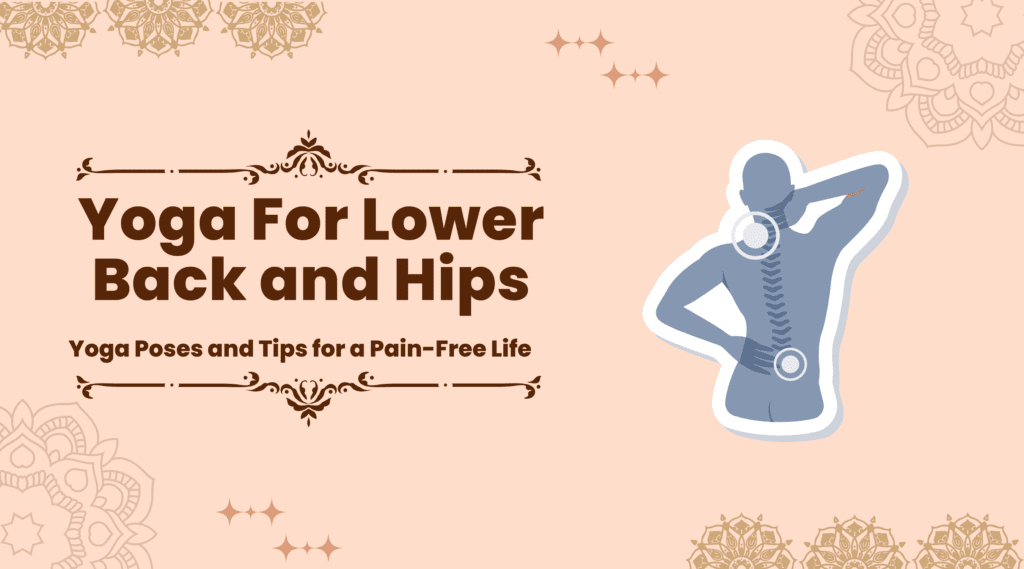
Yoga For Lower Back and Hips: Poses and Tips for a Pain-Free Life
Introduction
Lower back and hip pain are very common issues experienced by many people, especially those leading a sedentary lifestyle. There are various factors which can cause pain such as muscle strains, sprains, nerve irritation, or arthritis. Whatever the cause may be, it is important to address the issue before it worsens. Yoga for back and hips is a great way to alleviate lower back and hip pain, and in this article, we’ll explore some of the best yoga poses and practices for treating these issues.
Before we begin, it’s important to note that if you are experiencing severe pain, it’s best to consult a doctor or a licensed healthcare professional before engaging in any yoga practice.
Furthermore, if you have never practised yoga for lower back and hips before, it is advisable to start slowly and gradually develop your practice for safeguard against injury.
Causes of lower back and hips pain
Lower back and hip pain can be caused by a variety of factors, such as:
1. Poor posture: Sitting or standing in a slouched or hunched position can put pressure on the lower back and hip muscles, which leads to pain and discomfort.
2. Inactivity: Leading a sedentary lifestyle can weaken the muscles in the lower back and hips, making them more susceptible to injury.
3. Injury or trauma: Accidents, falls or sports injuries can cause strains or sprains in the muscles or ligaments of the lower back and hips. That can trigger lower back and hip pain.
4. Herniated or bulging discs: The discs in the spine can get damaged or weakened, causing them to bulge or herniated and press on nearby nerves, leading to lower back pain and sometimes hip pain.
5. Arthritis: Arthritis can cause inflammation and damage to the joints, including those in the lower back and hips. So due to arthritis, there can be pain in the lower back and hip.
6. Sciatica: Compression of the sciatic nerve can cause pain in the lower back and hips, as well as down the legs.
7. Pregnancy: The extra weight and pressure of carrying a baby can cause lower back and hip pain in pregnant women.
8. Obesity: Excess weight can put strain on the lower back and hip muscles, leading to pain and discomfort.
9. Poor flexibility: Tight muscles and lack of flexibility can lead to imbalances in the body, causing pain and discomfort in the lower back and hips.
10. Psychological factors: Stress and anxiety also can cause tension in the muscles, leading to lower back and hip pain. So while treating lower back or hip pain, it’s important to identify the underlying cause of lower back and hip pain for a proper treatment through medicine as well as incorporating yoga for lower back and hips practice.
Yoga Poses For Lower Back And Hips Pain
Here we will discuss yoga postures which are great yoga poses for back pain as well as they are quite beneficial yoga poses for hip pain. So, below are the yoga poses that are very helpful in the condition of lower back and hip pain:
Suggested: Best Yoga Retreats And Yoga Teacher Training In Rishikesh
1. Child’s Pose (Balasana)
Child’s Pose is a very easy and gentle pose that stretches the lower back muscles and relieves tension in the hip area.
To perform this pose, kneel down on the floor with your toes touching and your knees apart.
Sit back on your heels and lower your upper body towards the floor, extending your arms forward.
Keep your head down and rest your forehead on the floor and breathe deeply for 30 seconds to 1 minute.
2. Cat and Cow Pose (Marjariasana and Bitilasana)
Cat and Cow Pose is a great way to warm up the spine and loosen up the lower back muscles.
Start on your hands and knees with your wrists directly under your shoulders and your knees under your hips.
Inhale and arch your back, lifting your head and tailbone towards the ceiling (Cow Pose).
Exhale and round your spine, tucking your chin to your chest and bringing your tailbone towards your knees (Cat Pose).
Repeat this sequence for 5-10 breaths.
3. Downward Facing Dog (Adho Mukha Svanasana)
Downward Facing Dog is an excellent pose for stretching the entire body, especially the hamstrings and lower back muscles.
Place your knees precisely beneath your hips and your wrists directly beneath your shoulders.
Take a deep breath in and adopt the “Cow Pose,” by elevating your head and tailbone to the ceiling.
In the “Cat Pose,” you curve your spine as you exhale, lowering your chin to your chest and bringing your tailbone to your knees. and hold the pose for 5-10 breaths.
4. Triangle Pose (Trikonasana)
Triangle Pose is a standing pose that helps to stretch the hips, hamstrings as well as lower back muscles.
Start by standing with your feet hip-width apart and then step your left foot back about 3-4 feet.
Now turn your left foot towards the outside by 90 degrees while keeping your right foot slightly inside.
Inhale and lift your arms out to the sides, parallel to the floor.
Exhale and reach your right hand towards your right foot, keeping your left arm extended towards the ceiling.
Stay in the pose for 5 to 10 breaths and after that switch the sides.
5. Pigeon Pose (Eka Pada Rajakapotasana)
Pigeon Pose is a deep hip opener that helps to stretch the hip flexors, glutes and lower back muscles.
Start on your hands and knees, and then bring your right knee forward towards your right wrist.
Stretch your left leg back behind you and lower your body down onto your forearms.
Hold this posture for 5 to 10 breaths and then change the sides.
6. Seated Forward Fold Pose (Paschimottanasana)
Seated forward bend primarily stretches the hamstrings, lower back muscles, and calves.
Sit on the ground keeping legs extended in front of you. Sit up tall and lengthen your spine, taking a deep inhale.
On the exhale, gently begin to fold forward, leading with your chest. Reach for your feet with your hands while holding onto your toes, ankles or shins.
As you fold forward, try to keep your spine as long as possible, avoiding rounding the shoulders or hunching the back.
Take a few deep breaths in the pose while holding for at least 30 seconds to 1 minute.
To release, inhale and slowly rise back up to a seated position.
7. Sucirandhrasana (Eye of the Needle Pose )
Sucirandhrasana is a seated yoga pose that is also known as Eye of the Needle Pose or Thread the Needle Pose.
This pose is a variation of a popular yoga pose called Pigeon Pose. It provides a gentle stretch to the hips, glutes as well as lower back.
Begin by coming to a seated position on your mat while keeping your legs extended in front of you.
Bend your right knee and place your right foot on the floor while bringing your heel towards your left hip.
Now take your left ankle on your right thigh, just above the knee. Flex your left foot and take a deep inhale.
On the exhale, gently hinge forward from the hips while reaching your hands through the space between your right thigh and calf.
Clasp your hands behind your right hamstring or shin, pulling your torso towards your right leg. Keep your spine long and avoid rounding the shoulders or hunching the back.
Take a few deep breaths in the pose while holding for at least 30 seconds to 1 minute.
Now, slowly release your hands and sit up tall. Repeat the pose on the other side, bending your left knee and placing your left foot on the floor.
8. Seated Wide Leg Forward Bend Pose (Upavistha Konasana)
We also know this pose as Upavistha Konasana, it is a seated forward bend that stretches the hamstrings, hips as well as inner thighs.
Begin by sitting on the floor with your legs extended wide apart, as wide as is comfortable for you.
Sit up tall and lengthen your spine, taking a deep inhale. On the exhale, hinge forward from the hips, leading with your chest.
Walk your hands forward and lower your torso towards the floor, bringing your hands to rest on the floor in front of you.
As you fold forward, try to keep your spine as long as possible while avoiding rounding the shoulders or hunching the back.
Take a few deep breaths in the pose, holding for at least 30 seconds to 1 minute. To release, inhale and slowly rise back up to a seated position.
9. Janu Sirsasana (Head to Knee Forward Bend Pose)
We also know this pose as Janu Sirsasana, it is also a seated forward bend. This pose provides a deep stretch to the hamstrings, groynes as well as back muscles, while also helping to calm the mind and relieve stress.
Begin by sitting on the floor with your legs extended in front of you. Bend your right knee and bring the sole of your right foot to the inner left thigh while allowing your right knee to fall out to the side.
Sit up tall and lengthen your spine, taking a deep inhale. On the exhale, hinge forward from the hips, leading with your chest.
Reach for your left foot with both hands, holding onto your toes, ankle, or shin. As you fold forward, try to keep your spine as long as possible while avoiding rounding the shoulders or hunching the back.
Take a few deep breaths in the pose, holding for at least 30 seconds to 1 minute. Now for releasing, inhale and slowly rise back up to a seated position.
Repeat the asna on the other side, bending the left knee and bringing the sole of the left foot to the inner right thigh.
Conclusion
Yoga for back and hips is a great way to alleviate lower back and hip pain. Incorporating these poses into your yoga practice can help to stretch and strengthen the muscles in these areas. It leads to improved flexibility, reduced pain as well as increased mobility.
Therefore, embracing a regular yoga for back and hips practice can be a transformative journey towards alleviating discomfort and promoting overall wellbeing in the lower back and hip regions.
Through a mindful combination of gentle stretches, strengthening poses as well as deep breathing exercises, individuals can experience relief from pain. Apart from that you can also experience increased mobility and enhanced muscle support if you incorporate yoga for lower back and hips in your daily schedule.
However, remember to listen to your body and go at your own pace. If you experience any pain or discomfort, stop immediately and consult a healthcare professional.
You Can Also Read: